In this tutorial we’ll be using the Auth0 SDK to add user authentication to a Next.js application. If you’re not familiar with Auth0 it’s an easy to implement, adaptable authentication platform. Auth0 is free for up to 7,000 active users so you can get a fair amount of usage before occurring any costs.
You can create an Auth0 account here.
Once you’ve created an account you’ll need to create a new Auth0 application:

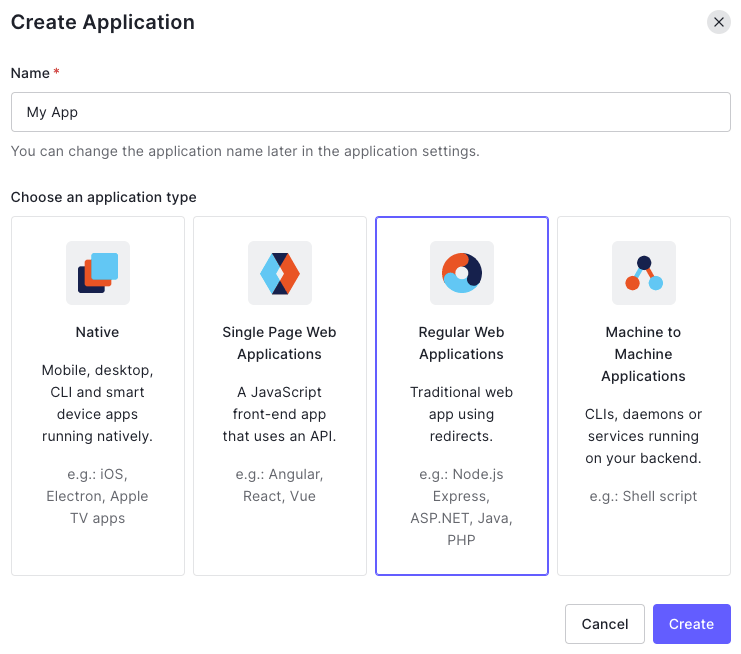
Next choose the type of application and give it a name (this can be changed later):
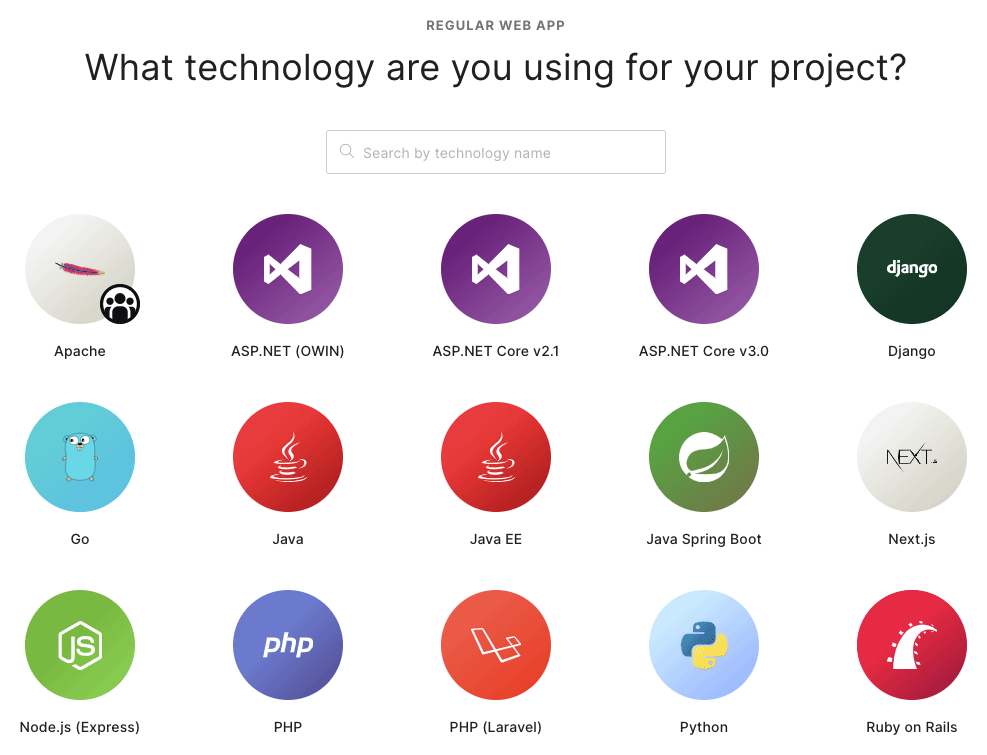
Select Next.js when prompted about the technology you’re using for your project:
To complete the setup of the application on AuthO we need to provide the following URLs under the “Settings” tab :
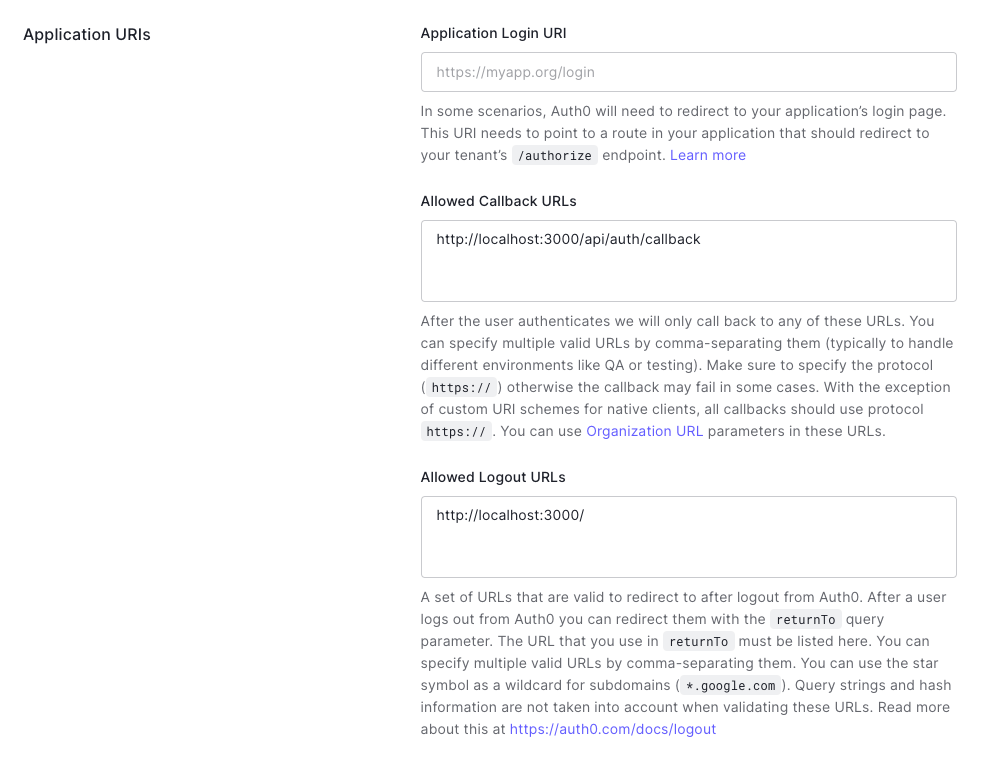
The allowed callback URL is http://localhost:3000/api/auth/callback and the allowed logout URL is http://localhost:3000/. You’ll need to replace localhost with your actual domain when deploying on a production environment, alternatively you can run a dev and production Auth0 applications.
For this tutorial I created a Next.js application using Create Next App.
The only additional dependency required is the Auth0 SDK which can be installed via NPM by running the following command:
npm install @auth0/nextjs-auth0Code language: CSS (css)Next create a .env.local file in the root of the application with the following variables:
AUTH0_SECRET='32_CHARACTER_STRING'
AUTH0_BASE_URL='http://localhost:3000'
AUTH0_ISSUER_BASE_URL='https://YOUR_DOMAIN'
AUTH0_CLIENT_ID='YOUR_CLIENT_ID'
AUTH0_CLIENT_SECRET='YOUR_CLENT_SECRET'Code language: JavaScript (javascript)
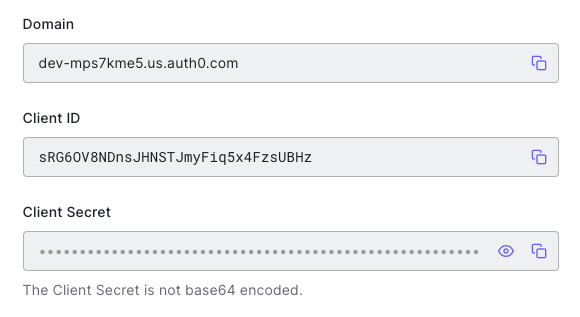
AUTH0_SECRET should to be a 32 character string that’s used to encrypt the session cookie. You can generate a suitable string by running openssl rand -hex 32 on the command line. AUTH0_ISSUER_BASE_URL, AUTH0_CLIENT_ID, and AUTH0_CLIENT_SECRET should be copied from the settings in your Auth0 application:
Next we need to create a dynamic API route that’ll handle the login, logout, and callback. Create a pages/api/auth/[...auth0].js file and import the handleAuth method from the Auth0 SDK:
import { handleAuth } from "@auth0/nextjs-auth0";
export default handleAuth();Code language: JavaScript (javascript)
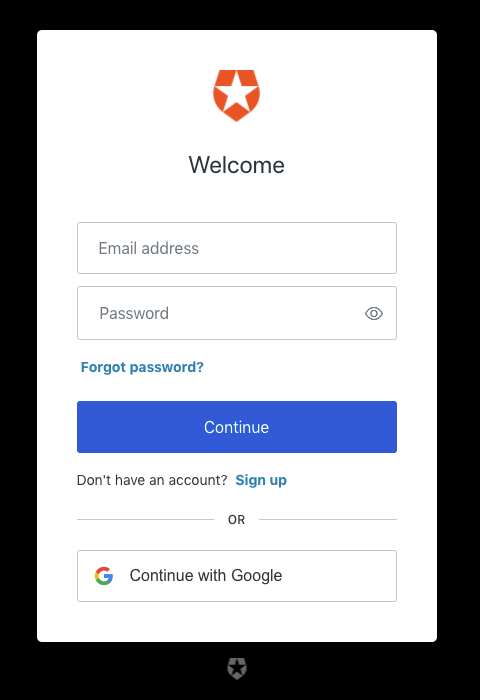
You can test the setup up to this point by visiting http://localhost:3000/api/auth/login in a browser. If successful you’ll be taken to page with a login form. You can customise the look and feel of this page under the “Branding” settings but by default it’ll look something like this:
Let’s now start to add the authentication functionality to our application. So the authentication state is available to all pages we’ll wrap the entire application in a <UserProvider> by editing pages/_app.js as follows:
import React from "react";
import { UserProvider } from "@auth0/nextjs-auth0";

function MyApp({ Component, pageProps }) {
  return (
    <UserProvider>
      <Component {...pageProps} />
    </UserProvider>
  );
}

export default MyApp;Code language: JavaScript (javascript)
We can now check if a user is authenticated and if so display some of their profile data. If a user isn’t authenticated we’ll simply provide a link they can use to login. For this we’ll modify pages/index.js with the following code:
import Link from "next/link";
import { useUser } from "@auth0/nextjs-auth0";

const Home = () => {
  const { user, error, isLoading } = useUser();
  if (isLoading) return <div>Loading...</div>;
  if (error) return <div>{error.message}</div>;
  if (user) {
    return (
      <div>
        <img src={user.picture} />
        <p>{user.email}</p>
        <p>
          <Link href="/private">
            <a>View Private Content</a>
          </Link>
        </p>
        <p>
          <Link href="/api/auth/logout">
            <a>Logout</a>
          </Link>
        </p>
      </div>
    );
  }
  return (
    <p>
      <Link href="/api/auth/login">
        <a>Login</a>
      </Link>
    </p>
  );
};

export default Home;Code language: JavaScript (javascript)
Finally let’s create a private page that can only be accessed by authenticated users. To do this we’ll use withPageAuthRequired from the Auth0 SDK. Create a new private.js file in the pages folder as follows:
import Link from "next/link";
import { withPageAuthRequired } from "@auth0/nextjs-auth0";

const Private = () => {
  return (
    <div>
      <h1>Private Content</h1>
      <p>This page can only be viewed by authenticated users.</p>
      <p>
        <Link href="/">
          <a>Home</a>
        </Link>
      </p>
    </div>
  );
};
export default Private;

export const getServerSideProps = withPageAuthRequired();Code language: JavaScript (javascript)
If you try and view this page whilst not logged in you’ll be redirected to the login form.
That’s all for this tutorial. Hopefully this introduction has shown how quickly you can add user authentication to a Next.js application. I have to say it’s one of the simplest authentication systems I’ve used would be easy to combine with a database of your choosing to build user based dynamic applications.
