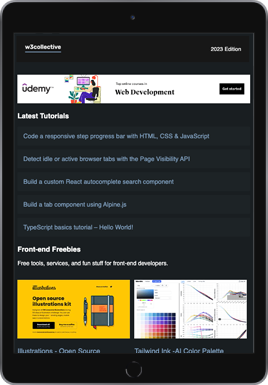
Puppeteer is a Node.js library that provides an API for controlling Chrome and Chromium browsers. In this article we’ll be using it to capture a screenshot of a website, but it can also be used to automate form submissions, perform UI testing, and help diagnose performance issues.
To get started with Puppeteer you’ll firstly need to have Node.js (v10.18.1+) installed.
With Node.js installed run the following terminal commands to create a project folder and install Puppeteer:
mkdir screenshot
cd screenshot
npm install puppeteer
This can take a little while to install as Puppeteer downloads Chromium which is around 120mb in size. Once installed we’ll setup the script to capture the screenshot in a new file called screenshot.js using Wikipedia as an example:
const puppeteer = require("puppeteer");
const capture = async () => {
  const browser = await puppeteer.launch();
  const page = await browser.newPage();
  await page.goto("https://www.wikipedia.org/");
  await page.screenshot({ path: "./screenshot.png" });
  await browser.close();
};
capture();Code language: JavaScript (javascript)
As we’re using the await operator to wait for a Promise the code must be run inside an async function. This allows asynchronous, promise-based behavior to be written in a cleaner style, avoiding having to explicitly configure promise chains.
It’s now time to test the script out by running the following command:
node screenshot.jsCode language: CSS (css)If successful this will save an image named screenshot.png in the same folder as the script is located. By default the screenshot will be 800×600 pixels but you can set a specific viewport size by adding the following with the required dimensions:
await page.setViewport({ width: 1024, height: 768 });Code language: CSS (css)Alternatively entire pages can be captured by modifying page.screenshot as follows:
await page.screenshot({ path: 'screenshot.png', fullPage: true };Code language: CSS (css)Up until now the screenshot is being saved as a .png but it’s also possible to save as .pdf by replacing the page.screenshot line with the following:
await page.pdf({ path: 'screenshot.pdf', format: 'A4' });Code language: CSS (css)That’s all for this tutorial, hopefully you can put what you’ve learnt to practical use.


